Welcome, Guest
Username: Password: Remember me

TOPIC: Building the Skyleada Cutlass for Jetex 50

Built-up Skyleada for Jetex 50 5 years 4 months ago #765

  • andyblackwell
  • andyblackwell's Avatar
  • Offline
  • Senior Member
  • Senior Member
  • Posts: 73
  • Karma: 2
  • Thank you received: 32
Hi Roger,
Impressive build, this could be the one that actually works without cork screwing. The profiles proved the feasability, but a lot also depends on smooth release on behalf of the pilot. This I feel will be the crux as with a lot of the tail-less and deltas, launching from the nose has always been problematic. "Keep at it old boy, I think you've really got something there".
Andy.
The following user(s) said Thank You: rogersimmonds

Please Log in or Create an account to join the conversation.

Built-up Skyleada for Jetex 50 5 years 4 months ago #766

  • rogersimmonds
  • rogersimmonds's Avatar Topic Author
  • Offline
  • Administrator
  • Administrator
  • Posts: 562
  • Karma: 8
  • Thank you received: 140
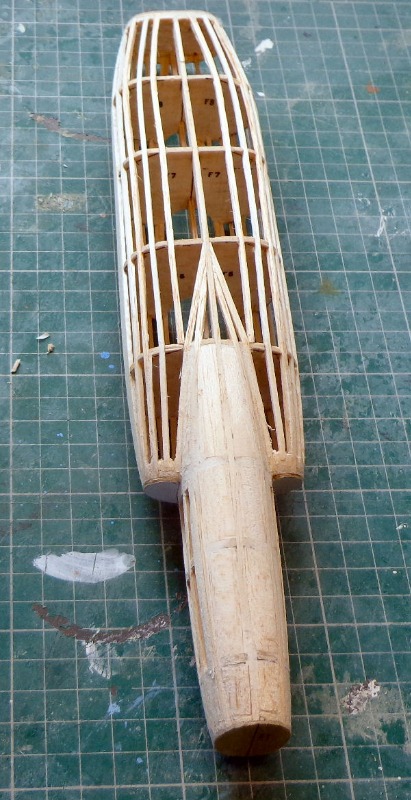
Progress has been slow, but all the stringers have been added to keep the characteristic sharp curve of the fuselage. Howard pointed out these extra stringers can be light as they are protected by those close on either side. A good point and good advice I followed. ;)

I also fill in the nose with sheet - this looks good and saves on nose weight, and light sheet at the rear, around the intakes and where the canopy sits. I also make sure there are 'lands' to stick the tissue on. Gluing all these bits of balsa in place is, as Howard says, a lengthy and tedious business, but for me it was just what I needed to do whilst contemplating the folly of the WW 1. :(

Shaping it all up afterwards is, in contrast, one of my favourite tasks. It's a real thrill to see the model taking shape and one is taking away weight! The stringers too are smoothed down and any 'high spots' sanded down and 'low spots' filled in with balsa strip which is then blended in. All this could be called 'bodging but I'm not called 'Roger the bodger' for nothing!'

Here is the fuselage so far:


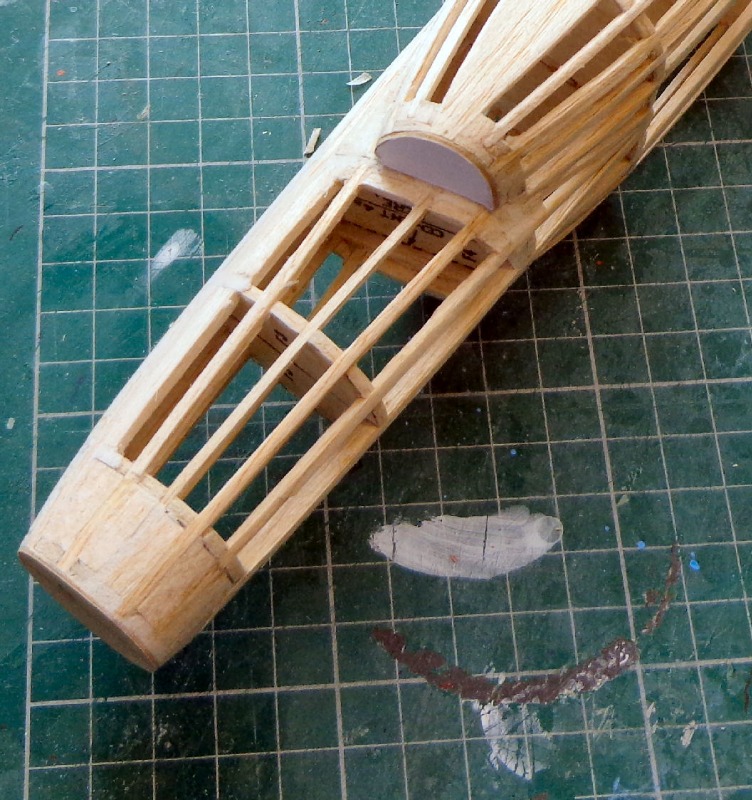
Note the thin ply templates for the nose (permanent) tail end and air intakes (to be removed after shaping. I I make these templates using profiles copied from pukka 3-views of the full size (which I had to download from the Internet). These may be a bit 'OTT' but the nose profile, tail profile and shape of the air intakes is (I think) crucial to the look of the final model :unsure:

Next the intakes themselves and the nose block.


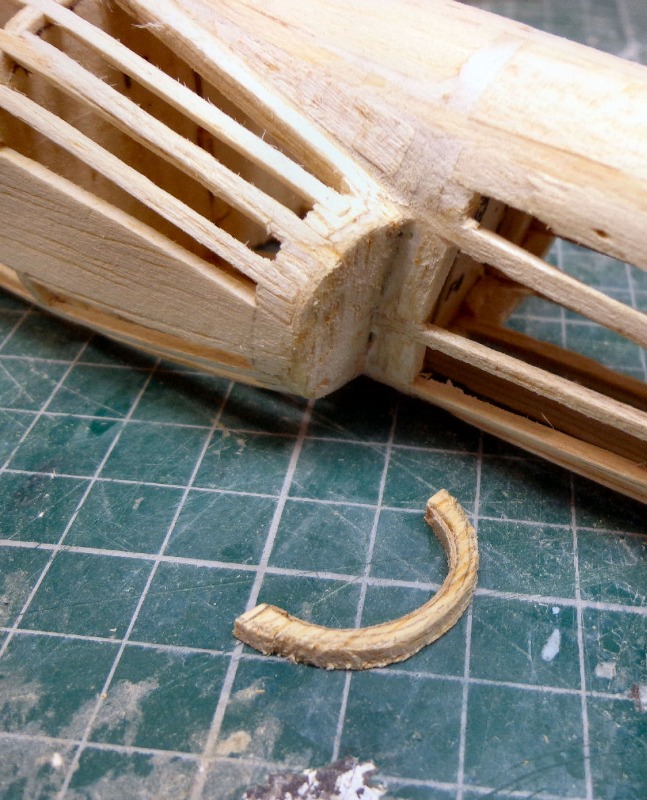
Above: the intake is laminated balsa and 1/64" ply, glued in place and then blended in.


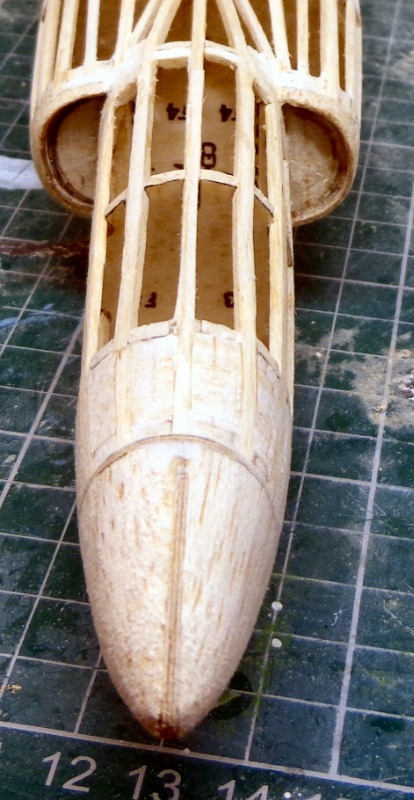
Above: the fuselage just about complete apart from sculpting out the oh-so-carefully shaped formers in between the stringers. Weight with the nose block is now 13.5 grams. Not too bad. :S

Please Log in or Create an account to join the conversation.

Last Edit: by rogersimmonds.

Built-up Skyleada for Jetex 50 5 years 4 months ago #767

  • ahmetcalfe
  • ahmetcalfe's Avatar
  • Offline
  • Administrator
  • Administrator
  • Posts: 292
  • Thank you received: 119
Well worth the effort, it is all looking great.

Please Log in or Create an account to join the conversation.

Built-up Skyleada for Jetex 50 5 years 4 months ago #768

  • rogersimmonds
  • rogersimmonds's Avatar Topic Author
  • Offline
  • Administrator
  • Administrator
  • Posts: 562
  • Karma: 8
  • Thank you received: 140
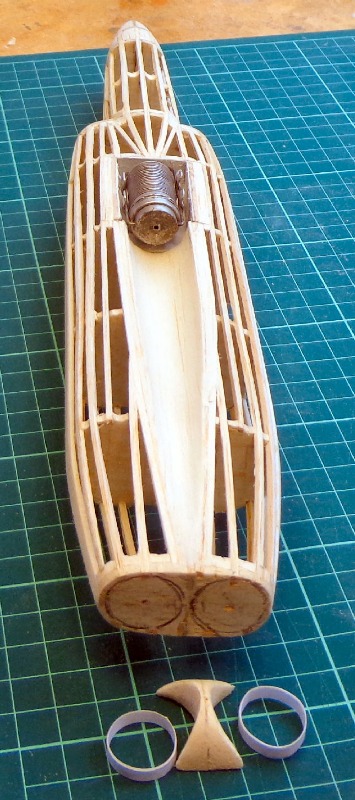
I was able to get back to the workshop only recently. First job was to make a motor mount. The suggested method on the plan is to screw the metal clip directly to the 1/16"x 1/4" balsa K13. This seems totally inadequate to me, so I made a box from 1/16" balsa, the bottom being a 1/64" ply /balsa/1/64" ply sandwich. This gives the screws something to bite on. The whole is lined with asbestos paper. I've seen too many Jetex models immolate themselves :woohoo: so it is important to protect he highly flammable balsa/tissue structure from the heat .

All this may be 'over-engineered' (typical of me) and the whole weighs 4 grams. But the motor clip is secure and firmly attached to the model!


I also line the trough with light 1/32" balsa. This gives something for the foil to be attached too and the foil can be replaced when necessary (especially important for a Rapier powered model, less so for Jetex with its cleaner exhaust). Note the paper jet pipes and rear fuselage 'jet pipe divider' (I'm sure there is a technical term for this, but I don't know it :oops: (I really should get out more) :


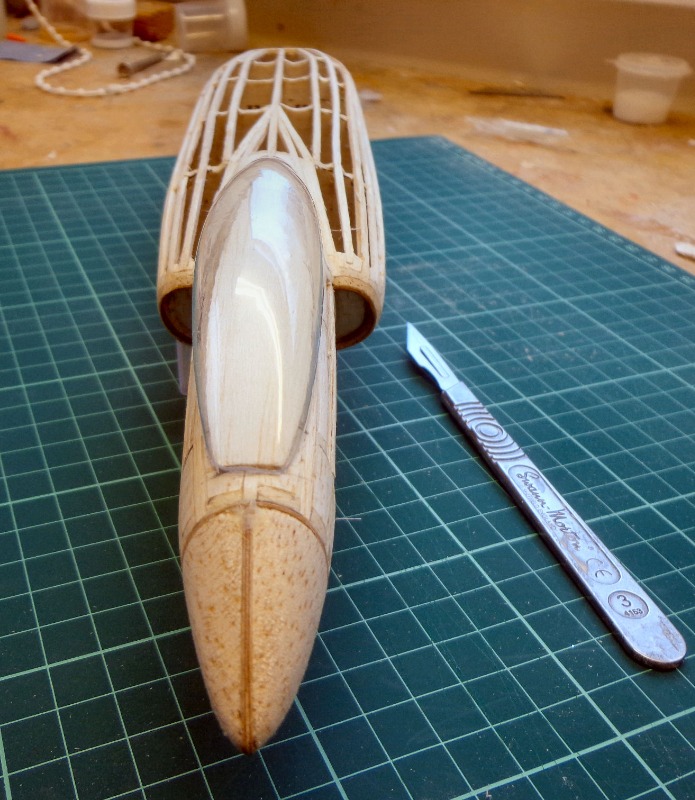
I also flattened the top fuselage where the canopy goes and added 1/32" balsa sheet to match the canopy. This gives something for the canopy to 'key' to and ensures it's in the right place and the right shape! Note the sculpted formers.


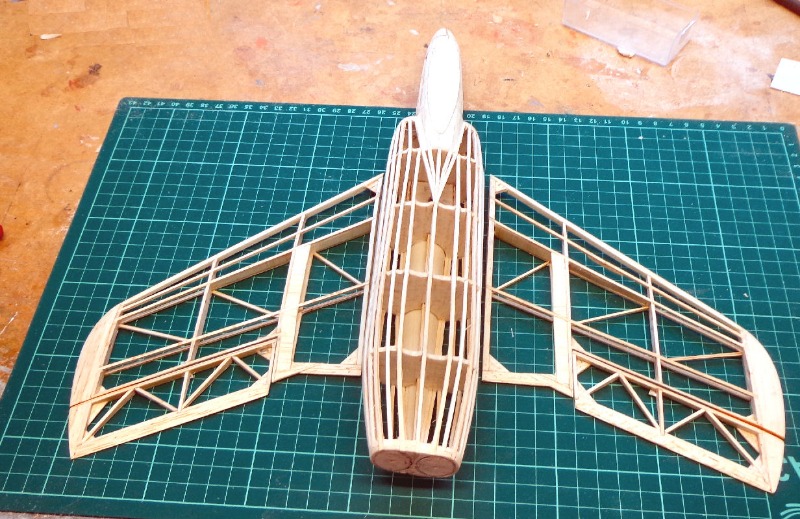
At this stage I couldn't resist getting an idea what the finished structure will look like:


Not too bad: if only I could add lightness :S
Attachments:

Please Log in or Create an account to join the conversation.

Last Edit: by rogersimmonds.

Built-up Skyleada for Jetex 50 5 years 4 months ago #769

  • ahmetcalfe
  • ahmetcalfe's Avatar
  • Offline
  • Administrator
  • Administrator
  • Posts: 292
  • Thank you received: 119
Looking good

Please Log in or Create an account to join the conversation.

Built-up Skyleada for Jetex 50 5 years 3 months ago #770

  • rogersimmonds
  • rogersimmonds's Avatar Topic Author
  • Offline
  • Administrator
  • Administrator
  • Posts: 562
  • Karma: 8
  • Thank you received: 140
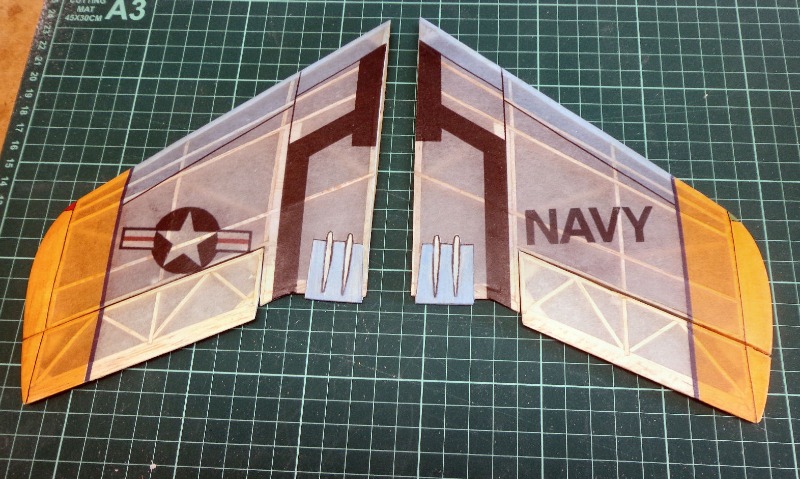
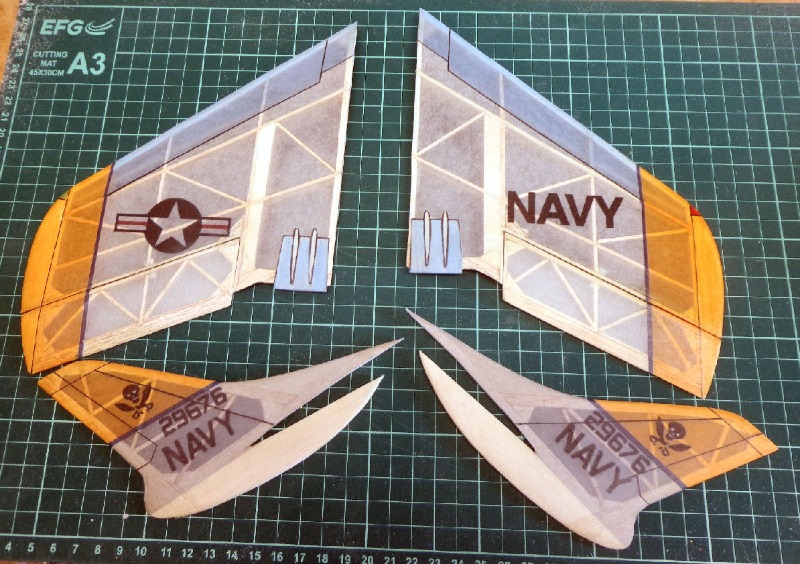
Covering an open structure with pre-printed tissue was really quite difficult. No surprise there, you say! The first task was to modify - expand/distort the '2D' templates to enable compatibility with a 3D structure. There is software to do this, but in the end it was more a case of modify - print - try. :unsure:
The fuselage was the most challenging, and in the end I covered the main body in strips, apart from the nose, which had the most decoration. The wings were easier. I used Modelspan for its wet strength (well dampened before applying) and pukka Epson ink cartridges that, in the main, are water resistant when dry.

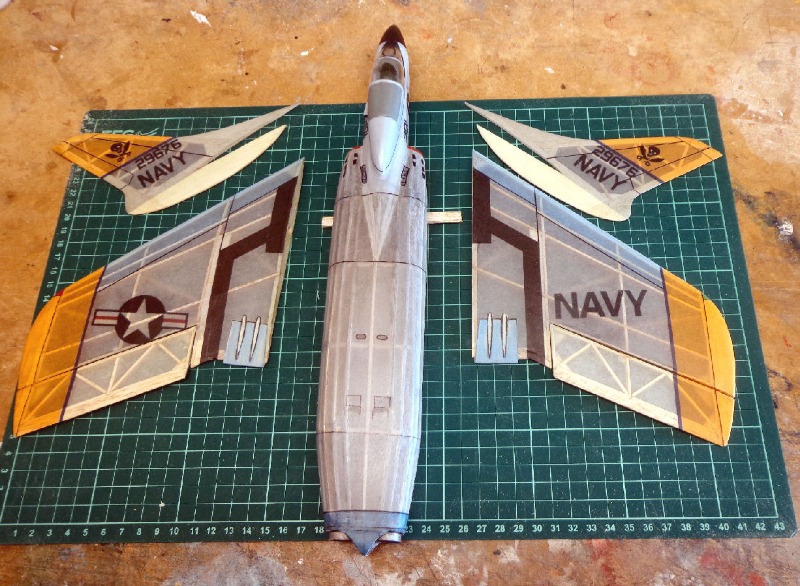
So here are the nearly finished bits of the Cutlass ready for final assembly:


The main body looked a bit bare before I added a few panel lines etc with a pen.

The wings were easier, but care was needed to line things up.


Even so, the insignia is not quite where it should be.:woohoo:

With experience of the top, the underside proved less stressful:


The rear canopy was also tissue covered followed by a wash of acrylic paint. The detail is pre-coloured strips of tissue in a double layer. Some paint was applied here and there and a marker pen was used for the lines so that it all looked 'half right' to my by now jaundiced perception:


The look of the 'rear end' is also critical to the verisimilitude of the model. The jet piped are silver covered paper with a wash of 'smoke'.


The next step is to glue it all together. I'm hoping I wont need much nose weight (if any) as it is starting to be a bit heavier than I wanted.

We shall see!

Please Log in or Create an account to join the conversation.

Last Edit: by rogersimmonds.
Time to create page: 0.096 seconds
Powered by Kunena Forum